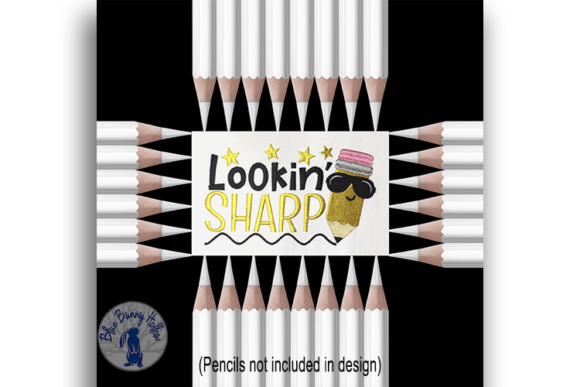
Lookin Sharp
A Designer’s First Glance: Playful, Purposeful, and Ready for Real Life
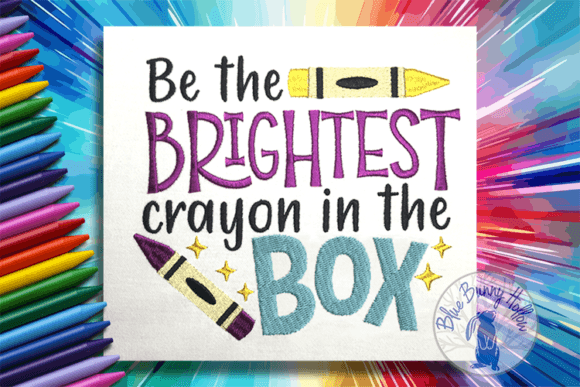
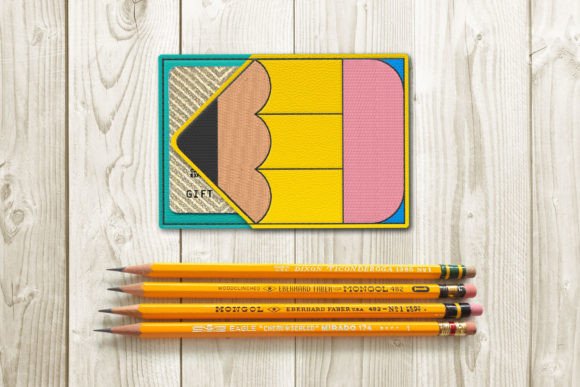
When Lookin Sharp popped up in my design queue—back-to-school season looming, tote bags stacked on my worktable—I paused. Not because it’s flashy or complex, but because it *feels* intentional. It’s not just a cluster of school supplies; it’s a balanced composition where pencils lean with gentle confidence, notebooks sit open like invitations, and that “bri” trailing off? It hints at energy, curiosity, even a little mischief. This isn’t clipart dressed up—it’s a machine embroidery design built to carry warmth and recognition. As someone who’s stitched hundreds of school-themed pieces for Etsy sellers, boutique kids’ shops, and custom gift orders, I knew right away: Lookin Sharp belongs on things people hold, use, and pass down—not just hang on a wall.
Where It Shines: From Sweatshirt Fronts to Nursery Pillows
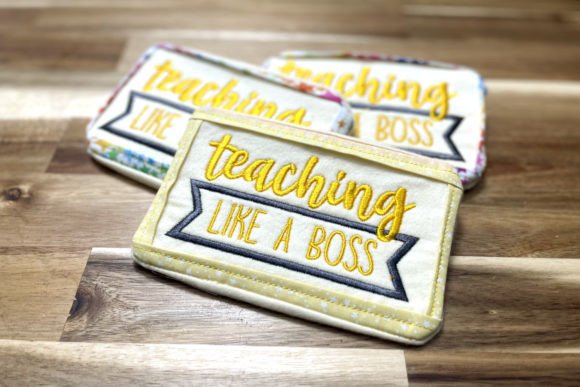
I tested Lookin Sharp across three real projects: a medium-weight cotton tote for a local teacher supply shop, a soft organic cotton baby onesie, and a linen-cotton blend kitchen towel for a holiday craft fair. On the tote, the design held crispness without stiffness—the satin stitch on pencil erasers caught light just right, and the fill stitch in notebook covers stayed smooth, no puckering. On the onesie? It worked cleanly with lightweight tear-away stabilizer and reduced density (a quick edit most experienced embroiderers will do instinctively). The towel was the real litmus test: slightly textured surface, frequent washing expected. Here, Lookin Sharp kept its charm—no thread fuzzing, no detail loss—even after two hot washes and line drying.
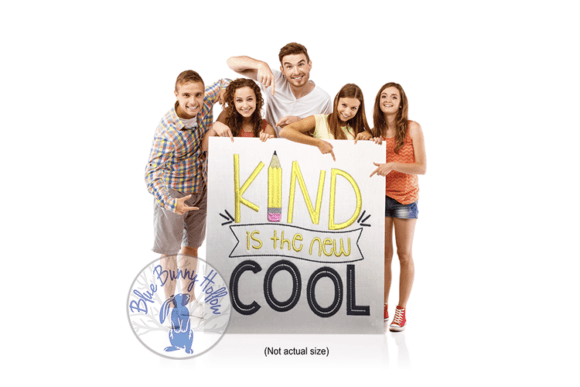
This is where Lookin Sharp earns its keep as more than a seasonal novelty. It reads clearly at 3.5"–4.5" wide—ideal for sweatshirt fronts, cap backs, and embroidered patches meant for backpacks or denim jackets. It also scales well down to ~2.75" for baby embroidery on bibs or pillow covers, as long as you verify small elements (like pencil tips and notebook spirals) stay legible. For craft business owners listing on Etsy, this versatility means one digital embroidery file can support multiple product lines: personalized back-to-school gifts, boutique nursery decor, or even teacher appreciation bundles.
Where to Pause—and Why
Not every surface welcomes Lookin Sharp equally. On highly stretchy fabric (think lightweight jersey tees), I recommend switching to a cut-away + topping combo—especially under the densest areas like the notebook spine or grouped pencil barrels. Thin fabrics like voile or delicate chambray need extra care: reduce top tension slightly and confirm your hoop size gives full clearance around all outer edges. And on dark fabric? Don’t assume default thread colors will pop. I ran a black-and-white printable mockup first—then swapped the original yellow pencil barrel for a high-contrast gold metallic. That tiny change elevated the whole finished product.
Caps and curved surfaces demand attention too. The design’s horizontal flow works beautifully on flat panels, but if you’re planning cap embroidery, check whether the layout fits comfortably within standard front-panel hoop constraints—some digitizers compress width to accommodate curvature. Also, avoid placing Lookin Sharp directly over seams or thick layered areas (like hood linings or quilted apron pockets); those zones increase stitch resistance and risk skipped stitches or thread breaks.
What Your Customers Will Actually See—and Feel
Here’s what matters beyond stitch count or file format: Lookin Sharp communicates care. When stitched cleanly, it reads as handmade—not mass-produced. Parents notice the thoughtful spacing between items; teachers smile at the subtle nod to creativity, not just curriculum. That emotional resonance translates directly to perceived value. A $28 embroidered tote with Lookin Sharp sells faster than one with generic alphabet motifs—not because it’s fancier, but because it feels *seen*. For small shop owners building brand consistency, this design supports a warm, encouraging aesthetic without leaning into cutesy overload. It pairs naturally with neutral apparel and earthy textiles, making it easy to integrate into cohesive collections.
Practical Notes Every Embroidery Designer Should Run Through
- Always test on scrap fabric first—especially with new stabilizer combos or unfamiliar thread brands.
- Review stitch density before hooping. If your machine struggles with tight fills, consider reducing density by 5–8% in notebook covers or pencil groupings.
- Confirm hoop size compatibility. If you’re using a 4x4 hoop, ensure all elements fit with at least ⅛" margin—no clipping corners.
- Inspect small details at actual stitch-out size: pencil tips, spiral notebook coils, and lettering should remain distinct, not blobby.
- Test contrast on both light and dark fabric backgrounds using printable mockups—don’t rely solely on screen previews.
- Use proper stabilizer: medium-weight cut-away for stable knits, tear-away for wovens, and a light water-soluble topper for textured towels or napkins.
- Check licensing before selling finished items or reselling the digital embroidery file—commercial use rights aren’t automatic.
Final Thought: A Design That Grows With You
Lookin Sharp isn’t just for August. Stitch it in muted tones for a quiet library-themed pillow cover. Flip the color palette to pastels for spring preschool graduation gifts. Use it as an applique design base and add hand-stitched accents—like tiny cross-stitch stars on notebook pages—for artisanal depth. It’s flexible, friendly, and functionally sound. As a designer reviewing embroidery files for real project use, I don’t reach for Lookin Sharp when I need spectacle. I reach for it when I need sincerity, clarity, and quiet confidence—exactly what makes a handmade product feel like it was made *for someone*, not just *for sale*.