Daisy Font S to Z: A Designer’s Real-World Embroidery Review
First Impressions: Delicate, Cheerful, and Surprisingly Versatile
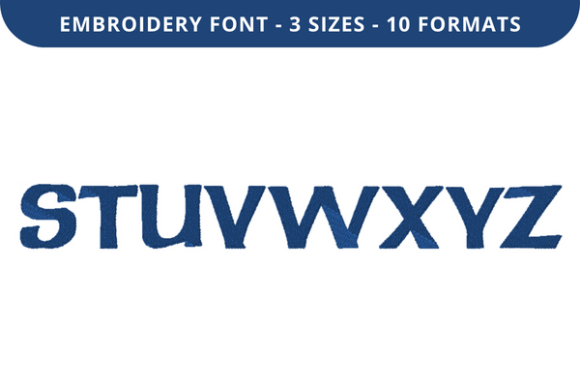
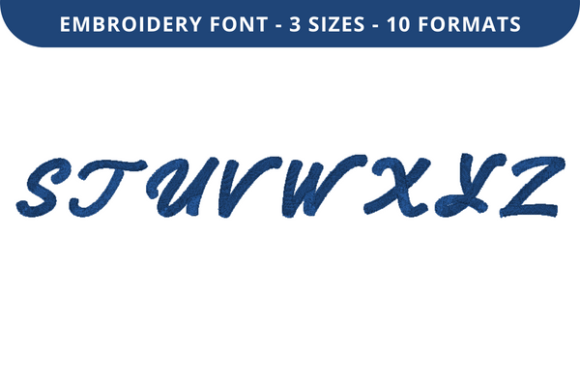
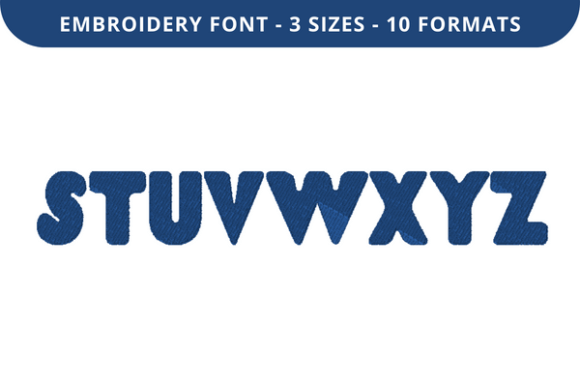
When I opened Daisy Font S to Z for the first time—prepping it for a custom embroidered tote bag for a local teacher boutique—I paused. Not because it was complicated, but because it *felt* intentional. The letterforms are light and airy, with soft petal-like terminals on curves and gentle tapering strokes that echo real daisies without veering into cartoonish territory. It’s not overly ornate, but it’s not minimalist either—it sits comfortably in that sweet spot where charm meets clarity. As a designer who’s stitched hundreds of fonts across baby onesies, aprons, and boutique sweatshirts, I immediately sensed this one would shine on natural fibers and handmade products where personality matters more than precision-perfect rigidity.
Where Daisy Font S to Z Truly Belongs (and Where It Doesn’t)
This machine embroidery design thrives in projects where warmth and approachability are part of the brand voice. Think personalized baby embroidery on organic cotton swaddles, delicate monograms on linen pillow covers, or cheerful “Welcome Back!” phrases on canvas tote bags for Back To School season. I tested it on a medium-weight cotton twill tote—and the result looked hand-drawn, not machine-stitched. Customers notice that difference. They touch the stitching, tilt their heads, and say, “It feels so soft.” That’s Daisy Font S to Z doing its job.
It also works beautifully on tea towels and kitchen linens—especially when paired with simple fill stitch backgrounds or subtle running stitch outlines. On lightweight knits like baby onesies? Yes—but only with tear-away stabilizer and reduced top tension. On dense fabrics like fleece or thick sweatshirt fleece? It holds up well, as long as you avoid cramming too many letters into a small hoop size. Where it stumbles is on highly textured surfaces (like bouclé or heavy terry cloth) or curved cap fronts—those delicate terminals can blur or lift if the fabric isn’t perfectly hooped and stabilized.
Real Use Notes from the Hoop Bench
I used Daisy Font S to Z to embroider “Sophie & Sam” on matching sibling sweatshirts for a holiday gift set. Here’s what I learned:
- Stitch density matters. The design uses balanced satin and fill stitch areas—no overloading, no sparse gaps—but always test on scrap fabric first. On dark fabric, I switched to matte white thread for better contrast; glossy thread made the daisies look plasticky.
- Small details hold up—but just barely. Letters like “S,” “R,” and “Z” have fine inner curves. At under 2 inches tall, those shapes softened slightly on stretchy jersey. For baby embroidery or tiny labels, I’d recommend using Daisy Font S to Z at 2.25" minimum height.
- It reads beautifully on mockups. Whether I dropped it into a printable mockup for an Etsy listing or layered it over a flat-lay photo of a nursery decor bundle, Daisy Font S to Z added instant cohesion. It doesn’t compete with patterns—it complements them.
- Wash durability is solid—if stabilized right. After three cold machine washes on a linen apron, the edges stayed crisp, and no threads frayed. But skip the heavy-duty cutaway on lightweight fabrics; it’ll show through.
What This Font Says About Your Finished Product
Daisy Font S to Z quietly elevates your handmade product. It signals care—not just in execution, but in curation. When a customer sees this font on a personalized gift, they don’t just read the name—they register thoughtfulness. That translates directly to perceived value, repeat orders, and word-of-mouth trust. For Etsy sellers and small shop owners, that’s gold. It’s also refreshingly distinct from the overused script fonts flooding craft markets right now. You won’t see Daisy Font S to Z on every third baby blanket—but you *will* see people pause and ask, “Where did you get that font?”
That said, it’s not for everything. Skip it on corporate-branded apparel, technical gear, or anything needing ultra-legibility at distance (like event staff caps). And while it’s lovely for holiday embroidery or wedding gifts, avoid pairing it with heavy metallics or high-sheen threads—the contrast undermines its gentle character.
Designer-to-Designer Practical Checks
Before you stitch Daisy Font S to Z into your next project—or list it in your digital embroidery file shop—run through these quick checks:
- Test on scrap fabric *in your actual project fabric*, not just muslin.
- Review stitch density visually in your embroidery software—look for overlapping fills or thin satin columns that might break.
- Confirm hoop size compatibility. If your design stretches beyond 4x4", double-check whether the file splits cleanly or requires re-hooping.
- Inspect small corners and inner loops (especially in “A,” “B,” “R”) at 200% zoom in your editing software.
- Preview in black-and-white mockups—not just color—to assess contrast and readability.
- Use appropriate stabilizer: lightweight cutaway for knits, tear-away for stable wovens, and optional topping for napped fabrics.
- Verify licensing terms before selling finished items or bundling Daisy Font S to Z as part of a commercial embroidery project or digital product.
A Final Thought for Craft Business Owners
Daisy Font S to Z isn’t just another embroidery file—it’s a subtle branding tool. When used consistently across tote bag designs, sweatshirt embroidery, and baby embroidery collections, it becomes part of your visual language. It tells customers, “This wasn’t mass-produced. It was chosen.” That quiet intentionality builds recognition, loyalty, and yes—even higher price points. Just remember: great fonts don’t work alone. They need smart stabilizing, thoughtful thread choices, and honest testing. Do those things, and Daisy Font S to Z won’t just stitch well—it’ll sell well.